PrivatBank NFC Payments in Skynum.KasaPrivatBank NFC Payment Integration with Skynum.KasaHow to connect NFC payments via PrivatBank in Skynum.Kasa: step-by-step integration setup, Android device connection, payment acceptance, and refunds.Learn how to connect NFC payments via PrivatBank in Skynum.Kasa and accept contactless payments on Android.
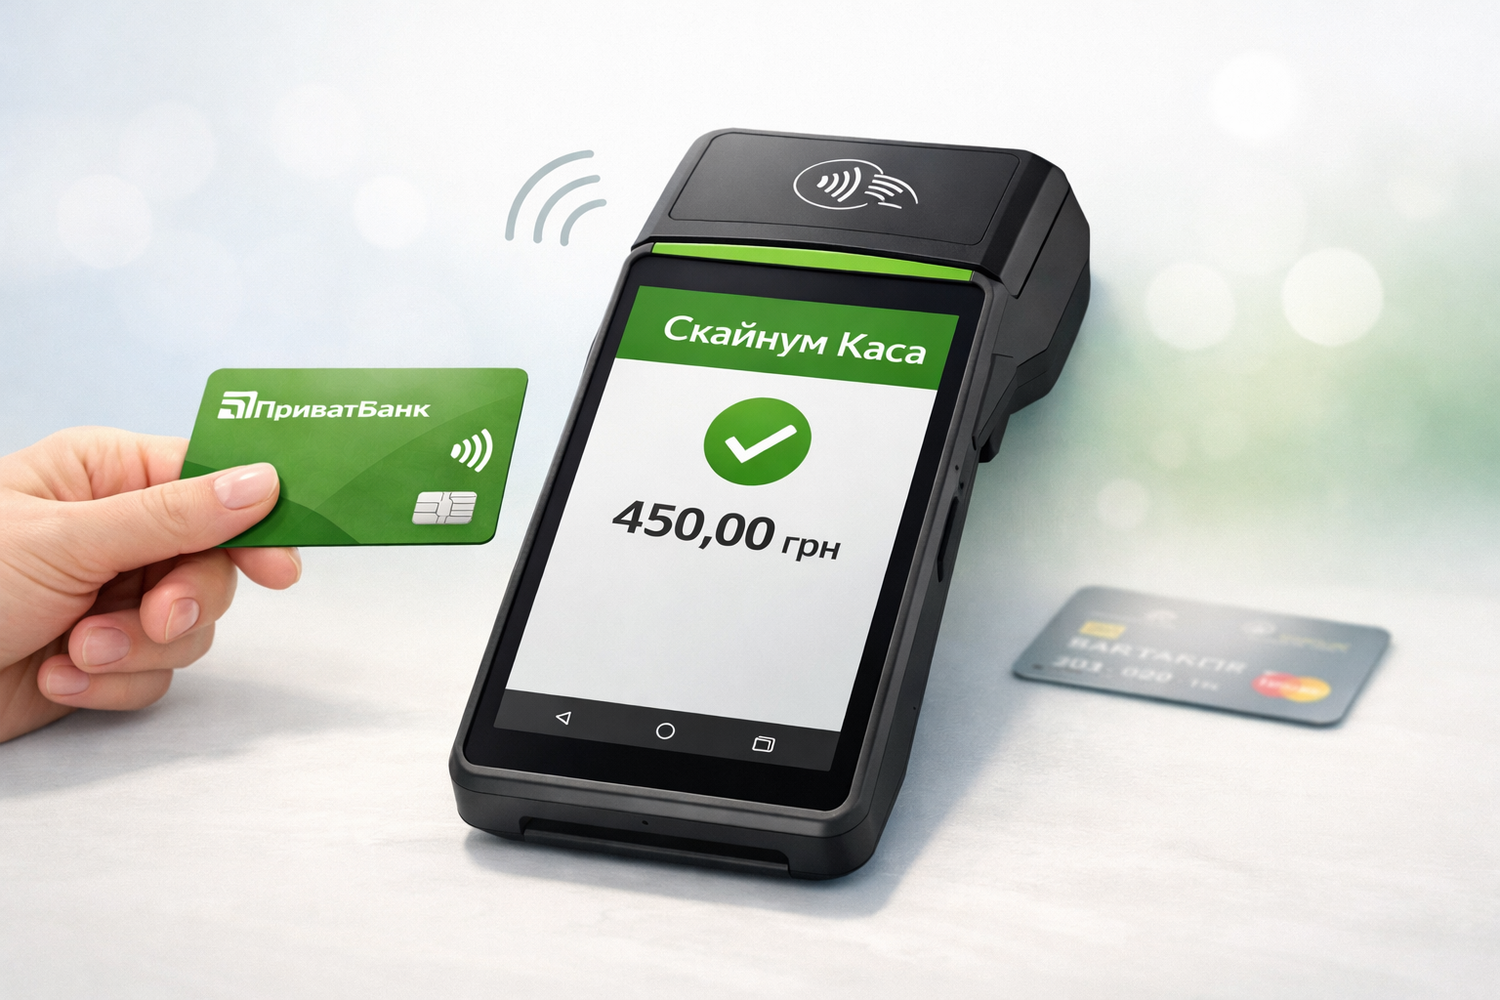
NFC payments via PrivatBank together with Skynum.Kasa allow you to accept contactless payments directly on an Android device with NFC, without using a separate payment terminal. You can use either a regular smartphone with NFC or an Android POS terminal, including SUNMI devices.
This setup makes it possible to combine the sale and the payment in a single process. The cashier does not need to process the sale separately in the POS system and then accept the payment separately on another device. This simplifies work at the point of sale, saves space, and makes payment acceptance more convenient.
What NFC payments via PrivatBank are
PrivatBank NFC payment integration with Skynum.Kasa allows you to use an Android device as a tool for accepting contactless payments. The payment is processed through PrivatBank’s “Terminal” app, while the sale itself is recorded in Skynum.Kasa.
This solution is suitable for stores, retail outlets, showrooms, delivery services, and mobile sales, where it is important to accept payments quickly, without extra equipment, and within a single checkout workflow.
Integration benefits
- accept contactless payments directly on Android devices with NFC;
- works both on smartphones with NFC and on Android POS terminals, including SUNMI;
- no separate payment terminal is required;
- less equipment at the workplace and more free space at the point of sale;
- payment works together with Skynum.Kasa rather than separately from the sale;
- it is more convenient for the cashier because the sale and payment are connected;
- the solution is suitable for both fixed and mobile sales.
Setting up the “Terminal” app
At the first stage, you need to prepare everything on the bank’s side. This is a required part of the setup, and without it the integration with Skynum.Kasa will not work.
Step 1. Register a retail outlet
Go to terminal.pb.ua and register the retail outlet through which payments will be accepted.
You do not need to connect a fiscal cash register service in PrivatBank if fiscalization is handled through Skynum.Kasa. In this case, the bank is used only for accepting the payment, while the checkout and fiscalization are handled in your system.
Step 2. Add a cashier
In PrivatBank’s personal account, create a cashier who will work with payments through the “Terminal” app.
Step 3. Get an integration token
In the personal account, open the “Integration” section and generate a token that will be used to connect NFC payments to Skynum.Kasa.
Step 4. Install the app on an Android device
Download the “Terminal” app by PrivatBank from Google Play onto the device that will be used to accept contactless payments.
The device must meet PrivatBank’s technical requirements for accepting NFC payments. Before connecting, make sure the device model supports the required workflow and works correctly with NFC.
Step 5. Sign in to the app
After installation, sign in to the app and make sure the device is ready to work.
After completing these steps, you can move on to the next part: connecting the integration in Skynum.Kasa and configuring payment acceptance in the system.
Setting up the integration in Skynum
After the basic setup on the PrivatBank side, you can move on to connecting the integration in Skynum and configuring it in the Skynum.Kasa app. At this stage, you need to create the integration in the system, assign it to the POS computer, and complete the setup on the Android device.
Adding the integration in the Skynum platform
Go to Settings → Integrations → Acquiring, click “Add integration”, and select “PrivatBank NFC”.
After that, a settings page will open where you need to fill in the main integration fields.
- Integration name — enter any convenient and clear name, for example based on the retail outlet, register, or device.
- Integration is active — turn on the switch so the integration is available for use.
- Store ID — fill this in if you have several retail outlets. To find the value, open the web version of the “Terminal” app at terminal.pb.ua, go to the “Retail outlets” section, select the required outlet, and check the identifier in the browser address bar. For example, in the address https://terminal.pb.ua/shops/77777, the identifier is 77777.
- Cashier phone number — used if you have several retail outlets or several cashiers. You can find the number in the “Terminal” app in the “Cashiers” section.
- Token — enter the token received in the “Terminal” app in the “Integrations” section.
After filling in all the fields, click “Save”. To verify that everything is set up correctly, click “Check connection”.
Assigning the integration to the POS computer
After creating the integration, you need to add it to the required POS computer. To do this, go to Settings → Directories → Computers, open the required computer, and select the created integration in the “NFC acquiring” field.
Then click “Save”. This completes the integration setup on the Skynum platform.
Setup in Skynum.Kasa
The next stage is performed directly on the Android device that will run Skynum.Kasa.
Signing in to the app
Launch the Skynum.Kasa app on the Android device. If the app is not installed yet, download it first from Google Play. After launching it, sign in using the user’s email and password.
If this is the first time you sign in to the app, you need to select the POS computer and then open a shift.
Setting up the payment terminal
After signing in, tap the settings icon in the bottom panel. In the “Payment terminal” section, tap “Configure”.
In the settings window, fill in the following parameters:
- Protocol — select “PrivatBank NFC”.
- Interface — select NFC.
Then tap “Check”. If the check is successful, save the settings. If the check is unsuccessful, review whether all previous steps were completed correctly: setup in PrivatBank, creation of the integration in Skynum, assignment to the POS computer, and correct sign-in to the apps.
This completes the setup, and the integration is ready to use.
How to accept payments via NFC in Skynum.Kasa
To accept a payment, create a receipt as usual: add products, specify the required quantity, and tap “Payment”.
A payment method selection window will open. In the “Cashless” field, there will be a bank card icon — tap that icon.
After that, PrivatBank’s “Terminal” app will open, and the payment amount will already be filled in automatically. In the app, confirm the amount, after which the device will prompt the customer to tap a bank card or another contactless payment method.
After a successful payment, the app may offer the option to print a bank receipt.
Important: after completing the payment, be sure to tap “Return”. After that, Skynum.Kasa will open automatically and complete the sale.
How to process a sale refund
If you need to process a refund, in Skynum.Kasa tap the home icon and select “Refund”. Then enter the sale receipt number — the system will find the required document.
Select the found receipt, and the system will automatically create a refund receipt with the same products as in the original sale.
In the refund receipt, leave only the products that need to be returned to the customer and remove the rest. Then tap “Payment” and again tap the bank card icon in the “Cashless” field.
The “Terminal” app will open, where you need to confirm the refund. After that, be sure to tap “Return” to reopen Skynum.Kasa and complete the refund operation.
Important information about refundsPlease note that a refund to the customer for an NFC payment is not processed instantly. The money may be returned to the customer only after a few days.
The actual refund timing depends on the bank and its transaction processing rules, not on Skynum.Kasa.
After completing all the steps described above, PrivatBank NFC integration with Skynum.Kasa is ready to use. You can accept contactless payments directly on an Android device without a separate payment terminal and process the sale and payment within a single workflow.
This solution simplifies the cashier’s work, helps reduce the amount of equipment at the workplace, and makes customer service faster and more convenient. If the setup is completed correctly, NFC payments via PrivatBank together with Skynum.Kasa will work reliably in daily use.